Seeding Core Data
18 Feb 2019
Seeding Core Data with a small amount of data turns out to be a much larger task than one would initially guess. There are several potential avenues for tackling this problem, such as parsing data from an XML or JSON file and saving it to a new persistent store, to procedurally generating the data however, these leave a bad taste in my mouth, as they aren’t very DRY. Not only that, but Apple explicitly discourage such practices, as some iOS devices don’t have the cycles to spare on such a task. A simpler approach could be to create the database in a simulator, embed it in the app bundle, and copy the resource into place on initial launch.
| let modelName = "Model" |
| |
| guard let sqliteURL = Bundle.main.url(forResource: modelName, withExtension: "sqlite") else { |
| fatalError("Unable to find sqlite database") |
| } |
| guard let shmURL = Bundle.main.url(forResource: modelName, withExtension: "sqlite-shm") else { |
| fatalError("Unable to find shared memory file") |
| } |
| guard let walURL = Bundle.main.url(forResource: modelName, withExtension: "sqlite-wal") else { |
| fatalError("Unable to find logging file") |
| } |
| |
| let persistentContainerDirectoryURL = PersistentContainer.defaultDirectoryURL() |
| let persistentContainerSQLiteURL = persistentContainerDirectoryURL.appendingPathComponent("\(modelName).sqlite") |
| let persistentContainerShmUrl = persistentContainerDirectoryURL.appendingPathComponent("\(modelName).sqlite-shm") |
| let persistentContainerWalUrl = persistentContainerDirectoryURL.appendingPathComponent("\(modelName).sqlite-wal") |
| |
| do { |
| try FileManager.default.copyItem(at: sqliteURL, to: persistentContainerSQLiteURL) |
| try FileManager.default.copyItem(at: shmURL, to: persistentContainerShmUrl) |
| try FileManager.default.copyItem(at: walURL, to: persistentContainerWalUrl) |
| } catch let error { |
| print("\(error), \((error as NSError).userInfo)") |
| } |
While copyItems(at:to:) will throw if the destination URL isn’t empty, it would be cleaner to wrap the above code in a block that only ever executes once. We can use UserDefaults to keep track of its state.
| if UserDefaults.standard.bool(forKey: didLaunchBeforeKey) { |
| |
| ... |
| |
| UserDefaults.standard.set(true, forKey: didLaunchBeforeKey) |
| } |
But wait, you might ask, what about replacePersistentStore(at:destinationOptions:withPersistentStoreFrom:sourceOptions:ofType:)? If your database is too big to be a resource in your app’s bundle, you might consider downloading the seed database on initial launch, in which case this would be preferred over manually copying files. Bundle resources, unfortunately, are read-only, which means the NSPersistentStore instantiated from a bundle resource would be read-only as well.
Additional Resources
❋❋❋
Reference vs. Value Types in Swift
15 Jan 2019
Types in Swift broadly fall into categories, reference and value types. If you’re new to Swift, do yourself a favor by not following my example and learn about the differences between the two sooner rather than later. If you’re reading this now, then presumably it is sooner rather than later, relatively speaking, so congratulations! Let’s dive right in.
Value types, such as struct, tuple, and enum, are the conceptually simpler. As the name implies, every instance holds its own unique copy of its properties and their values.
| struct Statement { |
| var isTrue: Bool = false |
| } |
| |
| var a = Statement() |
| var b = a |
| a.isTrue = true |
| |
| print("The statement below is \(a.isTrue).") |
| print("The statement above is \(b.isTrue).") |
No robots were short-circuited in the making of this logical fallacy.
Reference types, namely class, act like pointers in C/C++ without the peril of memory management (Ok, “peril” might be a strong word but you can really do some damage with raw pointers). Under the hood, copies of an instance of a reference type all share the same value in memory, and mutations to one copy are visible in every other one.
| class Statement { |
| var isTrue: Bool = false |
| } |
| |
| var a = Statement() |
| var b = a |
| a.isTrue = true |
| |
| print("The statement below is \(a.isTrue).") |
| print("The statement above is \(b.isTrue).") |
Swift prides itself on being simple, straight-forward, and above all, safe. Value types embody these ideas to a tee, as every instance is an island, immune to any unforeseeable side effects caused by mutating the data of a given copy. In fact, thanks to extensions and the protocol-oriented-programming nature of Swift, one could do without classes entirely, if not for the fact that so many Cocoa APIs expect to deal with NSObjects, and not value types.
With all of this in mind, it’s clear that value types are generally preferable, so when should we use a reference type instead? Aside from the previous example of class inheritance, reference types become necessary when implementing trees and other graph structures, as traversal, insertion, and deletion all require pointer objects that share the same memory as the nodes they refer to.
And there you have it! Reference and value types are subtle but important distinction to understand in the never-ending battle to write safe, predictable code.
References*
*Pun not intended (But I’m not complaining 🤷🏼♀️)
❋❋❋
How to Partition an APFS Drive
23 Dec 2018
Apple’s darling new file system, appropriately named Apple File System (APFS), has a lot to love about it, but it’s not without its hiccups, which tend to manifest through obscure and poorly-documented error codes, a lá Windows. One such feature that can easily cause headaches is partitioning. Partitions are logical sections on a storage medium upon which a filesystem is written to and that can be managed independently of one another. All storage devices must have at least one partition to be used. While partitioning is often used simply to segregate data on a drive (An operating system on one partition and user data on another), partitions can be used to install multiple operating systems on the same storage device. In most cases however, partitions are used to accomplish the former, rather than the latter. In light of this, APFS provides a nifty feature to solve a fraught problem with partitioning: deciding exactly how to slice the pie. Shrinking and expanding partitions can be a huge pain. APFS solves this with pseudo-partitions called Volumes that exist within a larger partition called a Container. Volumes share free space and can consume as much as they need from the pot (Or until its quota is reached, if one is set), and return it when no longer needed. The only downside to Volumes is that because they exist on a parent partition, they themselves cannot have a different file system and, as of time of writing, no operating system other than macOS supports installation on APFS. So if you were crazy enough to want to install Arch on your Mac, and don’t have a spare SSD lying around, you’re going to need to truly partition your drive.


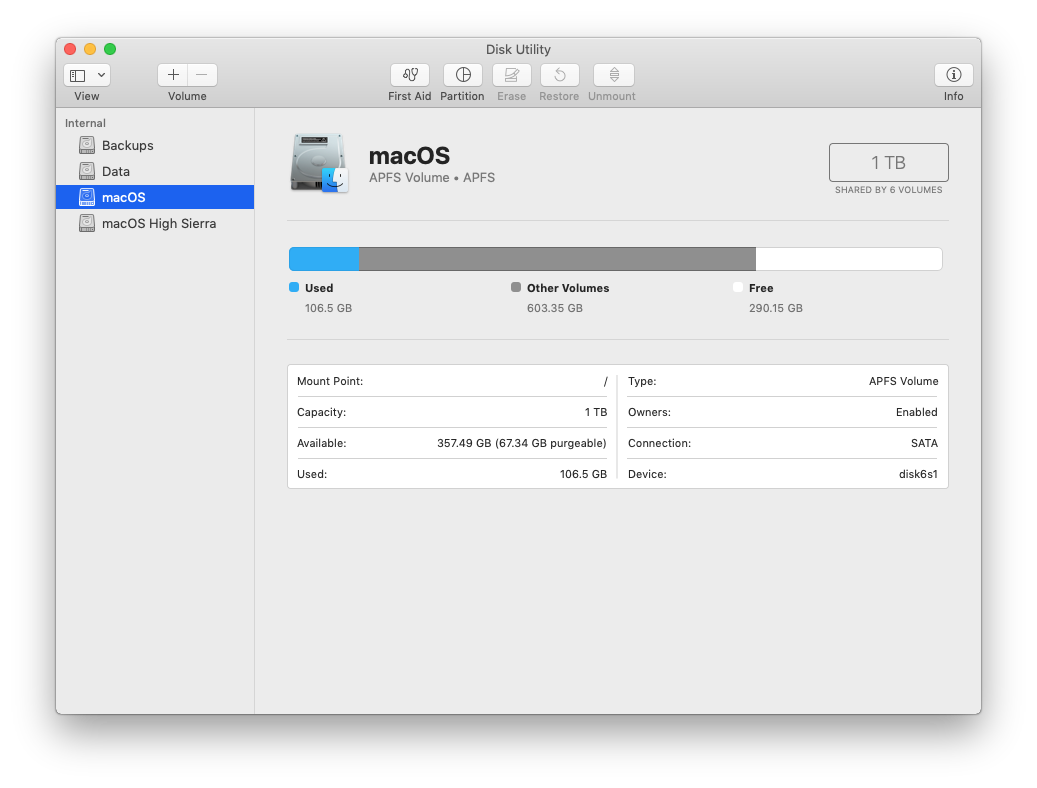
Disk utility.
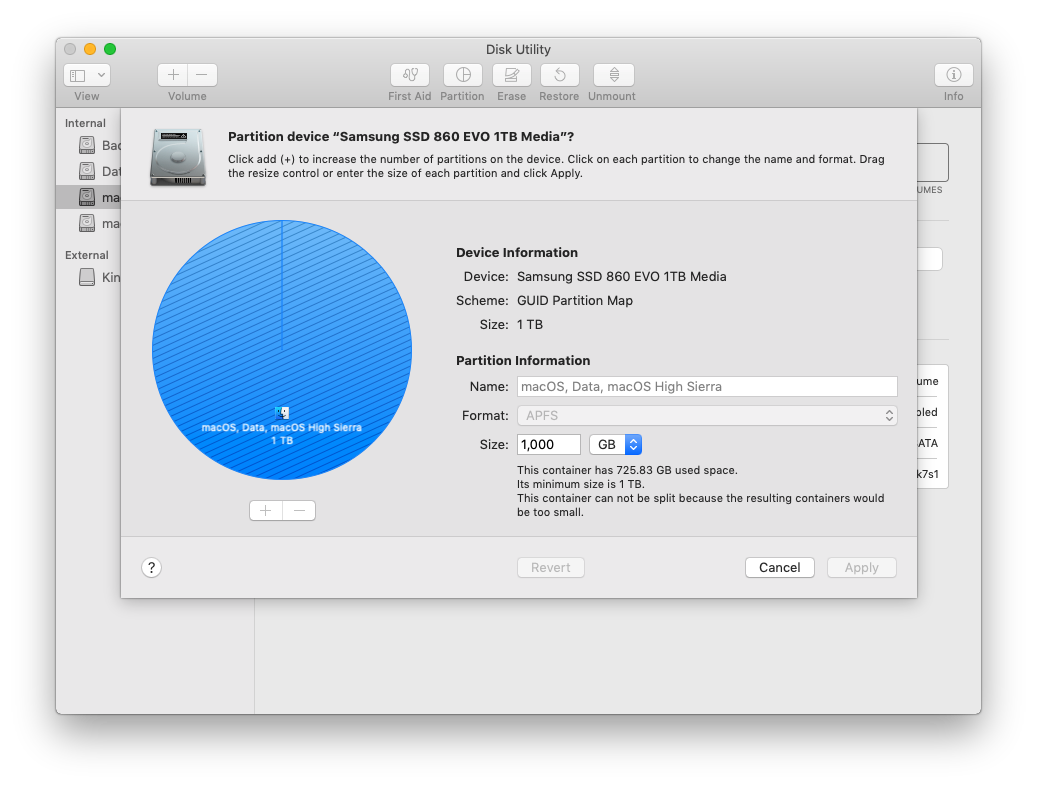
Step one: fire up Disk Utility, and select “Partition.” Disk Utility will ask you if you’d prefer to add a volume instead, which we do not. Next, select “+” under the pie chart to add a partition. If you’re unable to, look for a message under “Partition Information” stating that the “container cannot be split because the resulting containers will be too small.” Huh? Too small for what?


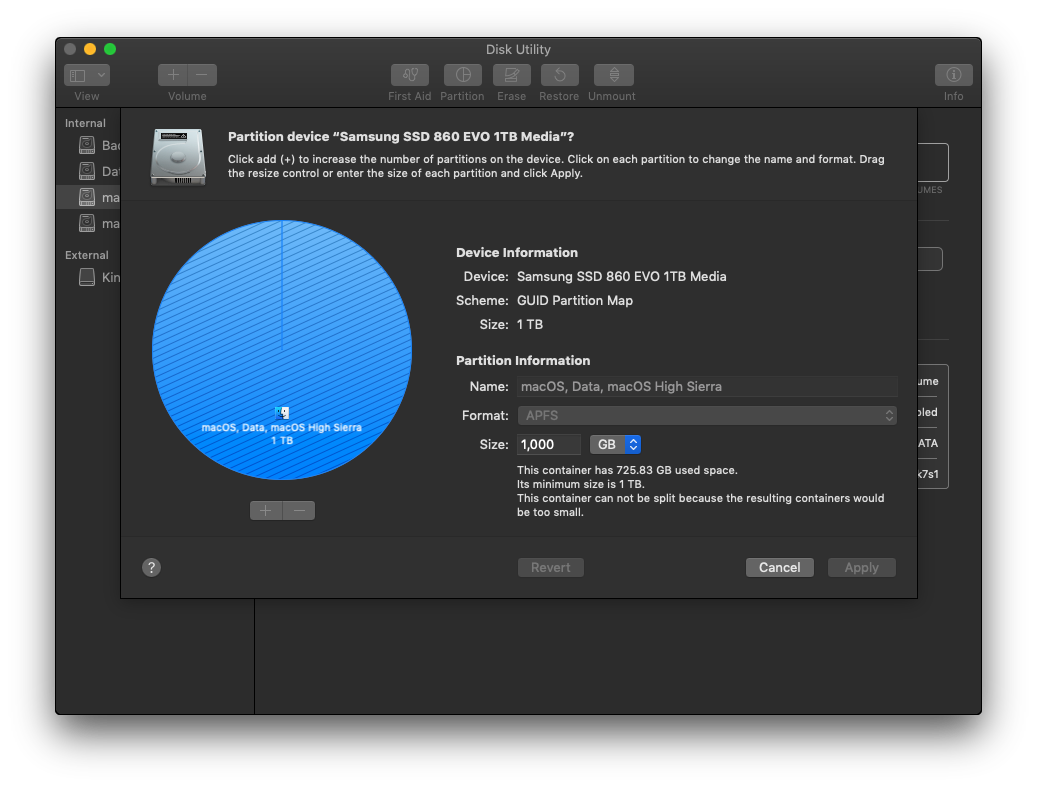
A not-so-helpful message.
Well if your drive is formatted with APFS and you use time machine like I do, partitioning it will make the container too small for its snapshots. Another awesome feature of APFS is its ability to create temporary restoration points, snapshots, which write-protect all blocks on the device that contain data belonging in a snapshot. This means that in order to partition our drive and format it with a new file system, we’ll have to remove any snapshots of the current partition.
To list snapshots on the current partition, you can use the cleverly-named listlocalsnapshots command:
$
tmutil listlocalsnapshots /
A typical output might look like so:
$
com.apple.TimeMachine.2018-12-23-005508 com.apple.TimeMachine.2018-12-23-015511 com.apple.TimeMachine.2018-12-23-123520 com.apple.TimeMachine.2018-12-23-201023 com.apple.TimeMachine.2018-12-23-211137 com.apple.TimeMachine.2018-12-23-221150 com.apple.TimeMachine.2018-12-23-231149 com.apple.TimeMachine.2018-12-24-001108
Deleting a snapshot is simple as well:
$
tmutil deletelocalsnapshots YYYY-MM-DD-HHMMSS
The final argument is the timestamp of the snapshot as given in the last portion of the snapshot’s filename.
Before we voluntarily remove our first line of defense against data loss and perform a destructive operation on our file system, make sure your data is backed up (Preferably to another drive). We’ll also want to disable Time Machine until we’ve completed partitioning:
$
tmutil disable
Afterward, re-enble it with:
$
tmutil enable
If you have more than a few snapshots, deleting all of them will be tedious to say the least. Let’s save ourselves the trouble with a short script:
| #!/usr/bin/env bash |
| |
| for d in $(tmutil listlocalsnapshotdates); do |
| sudo tmutil deletelocalsnapshots $d |
| done |
Feel free to brew yourself a cup of coffee while you wait for it to finish, it might take a while.
Once all of the snapshots on your drive have been removed, we can try adding a new partition again. This time, we won’t have the constraint of any snapshots write-protecting blocks all over the drive.
Note that if you’re partitioning your boot drive (Which you more than likely are), your system will become temporarily unresponsive. Feel free to brew another cup while you wait, as it might be a while, depending on the size of your drive.
And there you have it! A shiny new partition on your drive. Be careful that you select the correct partition if you’re installing a new OS, as it will probably want to reformat it. But I wouldn’t worry too much if anything goes wrong. After all, you have everything backed up, right?


